Pop!_OS is a popular Linux distribution known for its clean desktop environment, developer-friendly tools, gaming support, and efficient workflow. However, users who want to run Pop!_OS alongside Windows or another Linux distribution may find its default boot process different from what they are used to on Ubuntu or Linux Mint.
Unlike many Ubuntu-based distributions, Pop!_OS uses systemd-boot by default on UEFI systems. This means that Windows may not automatically appear in a traditional GRUB boot menu, even when both operating systems are installed correctly.
Installing GRUB on Pop!_OS can provide a familiar boot menu that allows users to select between multiple operating systems. However, the process depends on whether your computer uses UEFI or Legacy BIOS, how Pop!_OS is installed, and where the operating systems’ boot files are stored.
In this guide, we will explain how to install GRUB bootloader on Pop!_OS, configure dual boot with Windows, identify your boot mode, troubleshoot common bootloader problems, and understand when using the default systemd-boot configuration may be a more appropriate solution.
Whether you already have Pop!_OS installed or are planning a fresh dual-boot setup, this guide covers the important steps required to configure your system safely.
What Is GRUB Bootloader?
GRUB, short for GNU GRand Unified Bootloader, is a boot manager that loads an operating system’s kernel and transfers control to it during startup.
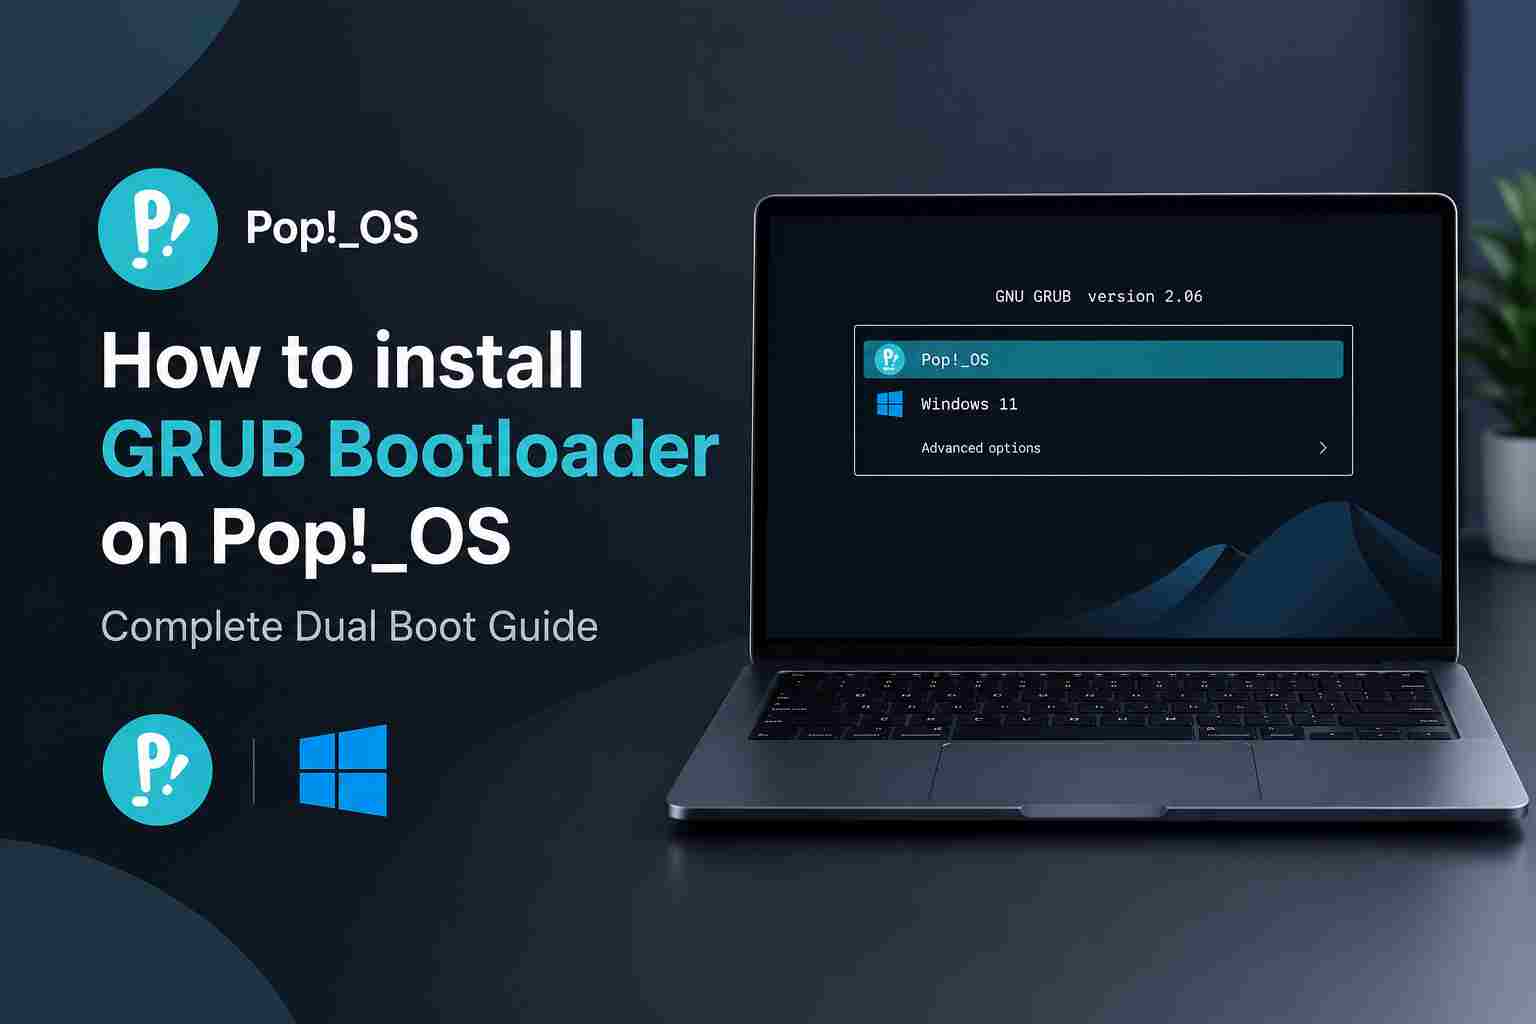
When a Desktop computer or Laptop contains multiple operating systems, GRUB can display a boot menu that allows users to choose which system they want to launch.
For example, a computer with Windows 11 and Pop!_OS installed can use a boot menu containing:
- Pop!_OS
- Windows Boot Manager
- Advanced options for Linux
- Other detected operating systems
GRUB is widely used in Linux distributions such as Ubuntu, Debian, Linux Mint, and Fedora, although Fedora commonly uses a different GRUB configuration from Ubuntu-based systems.
GRUB vs systemd-boot in Pop!_OS
Pop!_OS uses systemd-boot by default on UEFI installations, while GRUB is commonly used on Legacy BIOS installations.
Both boot managers can start an operating system, but their configuration methods and boot-entry handling differ.
| Feature | GRUB | systemd-boot |
|---|---|---|
| Boot Menu | Highly customizable | Simple and lightweight |
| Windows Detection | Can use os-prober | Uses EFI boot entries |
| Linux Boot Entries | Supports GRUB configuration | Uses loader entries and EFI files |
| Theme Customization | Extensive | Limited |
| Configuration | GRUB configuration files | Loader configuration and EFI entries |
| UEFI Support | Yes | Yes |
| Legacy BIOS Support | Yes | No |
| Default in UEFI Pop!_OS | No | Yes |
GRUB is useful for users who prefer a configurable boot menu or need a specific multiboot setup. However, systemd-boot is often sufficient for a standard Pop!_OS and Windows dual-boot configuration.
Prerequisites Before Installing GRUB on Pop!_OS
Before making any bootloader changes, prepare your system properly. Bootloader installation is generally straightforward, but incorrect EFI partition selection or an incompatible boot mode can prevent the operating system from starting.
1. Back Up Important Files
Back up important documents, projects, photos, and other personal files before modifying bootloader settings.
Bootloader installation does not normally erase personal data, but mistakes involving partitions or EFI files can create boot problems.
If Windows uses BitLocker or Device Encryption, make sure you have access to your recovery key before changing boot settings.
2. Check Your Current Boot Mode
Open the terminal in Pop!_OS and execute:
[ -d /sys/firmware/efi ] && echo "UEFI Mode" || echo "Legacy BIOS Mode"If the output is:
UEFI Modeyour current Pop!_OS session was booted using UEFI.
If the output is:
Legacy BIOS Modeyour current installation was booted using Legacy BIOS.
This distinction is important because UEFI and Legacy BIOS require different GRUB installation methods. A UEFI GRUB installation should not be attempted using Legacy BIOS instructions.
3. Identify Your Disk and EFI Partition
Run the following command:
lsblk -fThis displays your storage devices, partitions, filesystems, and mount points.
Example output:
NAME        FSTYPE  SIZE MOUNTPOINTS
nvme0n1            512G
├─nvme0n1p1 vfat    512M /boot/efi
├─nvme0n1p2 ext4    100G /
└─nvme0n1p3 ntfs    400G
In this example:
/dev/nvme0n1is the physical drive./dev/nvme0n1p1is the EFI System Partition (ESP)./dev/nvme0n1p2is the Pop!_OS root partition./dev/nvme0n1p3is an NTFS partition.
Your actual partition layout may differ. Do not copy these device names blindly.
The EFI System Partition is normally formatted as FAT32 and contains bootloader files for UEFI-based operating systems.
4. Update Pop!_OS
Before installing additional bootloader packages, update the system:
sudo apt update
sudo apt full-upgrade
Restart the computer if the update installs a new kernel or requires a reboot.
Method 1: Install GRUB Bootloader on Pop!_OS Using UEFI
This method is intended for users who already have Pop!_OS installed in UEFI mode and specifically want to add GRUB.
Important: Installing GRUB alongside systemd-boot is not the same as replacing every Pop!_OS boot component. Keep systemd-boot available as a fallback, and do not overwrite its EFI executable or delete its boot files.
Step 1: Confirm the EFI Partition Is Mounted
Run:
findmnt /boot/efiIf your EFI System Partition is mounted at /boot/efi, you can proceed.
If it is not mounted, identify the correct EFI partition using lsblk -f before mounting it. Do not assume that the first partition on every drive is the correct one.
Step 2: Back Up the EFI System Partition
Create a backup directory:
mkdir -p ~/efi-backupCopy the EFI files to it:
sudo cp -a /boot/efi/EFI ~/efi-backup/This backup is useful if a bootloader configuration change needs to be reversed.
For additional protection, keep a copy of important files on an external drive.
Step 3: Install GRUB Packages
Install the UEFI GRUB packages:
sudo apt install grub-efi-amd64 grub2-common os-proberThe packages serve different purposes:
grub-efi-amd64provides GRUB for 64-bit UEFI systems.grub2-commonprovides common GRUB utilities.os-proberhelps identify other installed operating systems.
Package availability can vary depending on the Pop!_OS release and enabled repositories.
Step 4: Install GRUB in the EFI System Partition
First, verify that /boot/efi is the correct mounted EFI partition.
Then install GRUB using a separate EFI bootloader identifier:
sudo grub-install \
  --target=x86_64-efi \
  --efi-directory=/boot/efi \
  --bootloader-id=GRUB \
  --recheck
This command installs GRUB’s EFI files under a separate GRUB directory and attempts to register a UEFI boot entry.
It should not be used if your current installation is running in Legacy BIOS mode.
If the command returns an error, do not proceed by forcing installation or changing EFI files manually. Review the error and confirm that the correct EFI partition is mounted.
Step 5: Check Whether GRUB Was Installed
Run:
ls /boot/efi/EFI/If installation succeeded, you should see a directory named:
GRUBOther directories, such as Microsoft and systemd, may also be present.
Their presence is normal. Do not delete them to make room for GRUB.
Step 6: Configure GRUB to Detect Windows
GRUB can use os-prober to search for other operating systems. However, automatic operating-system detection is disabled by default in modern GRUB configurations for security reasons.
Open the GRUB configuration file:
sudo nano /etc/default/grubFind the following setting:
GRUB_DISABLE_OS_PROBER=trueIf it exists, change it to:
GRUB_DISABLE_OS_PROBER=falseIf the setting does not exist, add the following line:
GRUB_DISABLE_OS_PROBER=falseSave the file and exit the editor.
In Nano, press Ctrl + O, then Enter to save, followed by Ctrl + X to exit.
Enabling os-prober allows GRUB to scan for other operating systems when generating its configuration. Only enable it if you trust the operating systems and filesystems being scanned.
Step 7: Scan for Windows
Run:
sudo os-proberIf Windows is detected, the output may resemble:
/dev/nvme0n1p1@/EFI/Microsoft/Boot/bootmgfw.efi:Windows Boot Manager:Windows:efiThe exact output depends on your system.
If Windows Boot Manager appears, GRUB may be able to add it to the boot menu.
If no operating system is detected, do not assume that Windows is missing. Its EFI files may be on another partition, or automatic detection may not work with your particular configuration.
Step 8: Generate the GRUB Configuration
Run:
sudo update-grubThis command regenerates the GRUB configuration file, normally located at:
/boot/grub/grub.cfgReview the output for messages indicating that Windows Boot Manager or other operating systems were detected.
If Windows is detected, its entry may be added to the generated menu.
If Windows is not detected, continue to the troubleshooting section rather than repeatedly reinstalling GRUB.
Step 9: Set GRUB as the Preferred Bootloader
After GRUB has been installed, restart your computer and enter the UEFI firmware settings.
Look for the boot-order section and check whether a new entry named GRUB is available.
If it is available, you can select it as the preferred boot option.
Keep the existing Pop!_OS or systemd-boot entry available. If GRUB does not boot correctly, use the firmware’s one-time boot menu to return to Pop!_OS.
Do not replace the systemd-boot EFI executable with GRUB or delete existing bootloader directories. Keeping both bootloaders available makes recovery easier.
Method 2: Install GRUB on Pop!_OS Using Legacy BIOS
This method applies only to systems where Pop!_OS was installed in Legacy BIOS mode.
On Legacy BIOS systems, GRUB is generally installed to the boot area of the physical drive rather than to an EFI System Partition.
Step 1: Install the GRUB BIOS Package
Open the terminal and execute:
sudo apt update
sudo apt install grub-pc grub2-common os-prober
Step 2: Identify the Correct Physical Drive
Run:
lsblkIdentify the drive containing your Pop!_OS installation.
For example:
/dev/sdaThe physical drive and its partitions are different devices:
/dev/sdarepresents the entire drive./dev/sda1represents the first partition.
Step 3: Install GRUB to the Physical Drive
If /dev/sda is confirmed as the correct boot drive, run:
sudo grub-install /dev/sdaReplace /dev/sda with the correct physical drive on your computer.
Do not install GRUB to a partition such as /dev/sda1 when following the standard BIOS installation method.
Step 4: Generate the GRUB Menu
Run:
sudo update-grubIf another operating system is detected, GRUB may add it to the generated menu.
Restart the computer and confirm that the GRUB menu appears.
Important: Legacy BIOS GRUB instructions should not be used on a UEFI installation. If Pop!_OS and Windows were installed in different firmware modes, booting both through a single GRUB configuration may not work as expected.
Method 3: Dual Boot Pop!_OS and Windows Using GRUB
If your goal is to use both Windows and Pop!_OS on the same computer, you need to configure the operating systems and their boot entries correctly.
There are two common situations:
- Windows is already installed, and you want to add Pop!_OS.
- Pop!_OS is already installed, and you want to add Windows.
The installation sequence and partition requirements differ.
Scenario A: Windows Is Already Installed
If Windows is already installed in UEFI mode, the recommended approach is to install Pop!_OS in UEFI mode as well.
Before installing Pop!_OS:
- Back up important Windows files.
- Disable Windows Fast Startup.
- Suspend BitLocker protection if applicable, and keep the recovery key available.
- Shrink the Windows partition using Windows Disk Management.
- Leave the required unallocated space for Pop!_OS.
- Boot the Pop!_OS installer in UEFI mode.
During installation, use the custom partitioning option if you need to preserve Windows and select the correct target space.
Do not select Erase and Install on a disk containing Windows that you want to keep.
After installing Pop!_OS, confirm that both systems can boot using the firmware boot menu. You can then decide whether to configure GRUB or continue using systemd-boot.
Scenario B: Pop!_OS Is Already Installed
If Pop!_OS is already installed and you want to add Windows, first back up your data and create Windows installation media.
The safest arrangement is to install Windows on a separate physical drive. This reduces the risk of accidentally modifying Pop!_OS partitions or its EFI setup.
If using a shared drive, carefully plan the partition layout and install Windows only into the intended unallocated space.
Windows installation can change the UEFI boot order. After installation, you may need to enter the firmware boot menu and select Pop!_OS again.
Once both systems boot independently, you can configure the boot manager of your choice.
Configure Windows Detection in GRUB
If GRUB is installed and Windows is available, run:
sudo os-proberIf Windows Boot Manager is detected, regenerate the GRUB menu:
sudo update-grubIf Windows is still missing, check the EFI partition and confirm that the Windows EFI loader exists.
A standard Windows UEFI loader path is:
/EFI/Microsoft/Boot/bootmgfw.efiThe actual location depends on your installation.
GRUB’s automatic detection is not guaranteed to work with every Windows and Pop!_OS partition layout. In some cases, a manual EFI chainloading entry may be required.
Method 4: Dual Boot Pop!_OS and Windows Without GRUB
For many Pop!_OS users, installing GRUB is unnecessary. The default systemd-boot setup can provide a way to select between Pop!_OS and Windows without replacing the bootloader.
Step 1: Check the UEFI Boot Menu
Restart your computer and open the firmware’s one-time boot menu.
Look for entries such as:
- Pop!_OS
- Linux Boot Manager
- Windows Boot Manager
If both systems appear, you can boot either one directly.
Step 2: Open the systemd-boot Menu
While the computer starts, hold or repeatedly press the Spacebar to display the systemd-boot menu.
If both operating systems are available through systemd-boot, select the required entry.
Step 3: Set the Default Operating System
You can change the default boot entry in the systemd-boot menu.
Select the desired entry and press D to make it the default.
You can also configure the boot menu timeout so that the menu appears automatically during startup.
If Windows is not listed, the issue may involve the Windows EFI boot files or how the EFI System Partition is configured. Installing GRUB is not necessarily the solution.
This approach is especially useful for users who want a straightforward dual-boot configuration without maintaining an additional bootloader.
Common GRUB and Dual-Boot Problems in Pop!_OS
Bootloader problems can occur after installing another operating system, changing the UEFI boot order, or modifying EFI files.
The following troubleshooting steps address common issues.
1. GRUB Menu Does Not Appear After Installation
If your computer boots directly into Pop!_OS or Windows, the firmware may still be selecting another bootloader.
Enter your UEFI settings and check the boot order.
If a GRUB entry exists, select it using the one-time boot menu to confirm that it works before changing the permanent boot order.
If no GRUB entry exists, check whether the GRUB EFI files were installed successfully and whether the EFI System Partition was mounted correctly.
2. Windows Is Not Detected by GRUB
First, check whether os-prober is installed:
sudo apt install os-proberThen run:
sudo os-proberIf Windows is detected, regenerate the GRUB configuration:
sudo update-grubIf Windows is not detected, check whether its EFI loader exists and whether the relevant partition is accessible.
Do not format or recreate the Windows EFI partition simply because os-prober did not detect it.
3. GRUB Opens but Pop!_OS Does Not Boot
Pop!_OS uses systemd-boot by default on UEFI systems, and its kernel and boot-entry arrangement may differ from a conventional GRUB-based Ubuntu installation.
GRUB may not automatically create a working Pop!_OS entry in every configuration.
If GRUB opens but Pop!_OS does not boot, use the firmware boot menu to select the existing Pop!_OS or systemd-boot entry.
Once Pop!_OS is running, review the GRUB configuration and consider whether maintaining GRUB is necessary for your dual-boot setup.
4. Computer Boots Directly Into Windows
Windows may have become the first boot entry in UEFI after an installation or update.
Restart the computer, open the firmware settings, and move the Pop!_OS or GRUB entry back to the preferred boot position.
You can still use the one-time boot menu to select Windows when needed.
5. GRUB Rescue or GRUB Command Line Appears
A GRUB rescue prompt can indicate that GRUB cannot locate its required files or configuration.
Avoid entering random commands or formatting partitions.
Use the firmware boot menu to try the existing Pop!_OS entry. If Pop!_OS still boots, inspect the GRUB installation and configuration before making further changes.
If neither operating system starts, use a Pop!_OS live USB and follow the official System76 bootloader-repair instructions.
6. Secure Boot Prevents Pop!_OS From Starting
Pop!_OS installation requires Secure Boot to be disabled under its documented installation procedure.
If you change Secure Boot settings after installing a bootloader, the system may refuse to launch one or more boot components.
Before changing Secure Boot settings, check the requirements for your operating system and bootloader configuration.
Do not disable security features without understanding how they affect your installed operating systems.
How to Restore the Default Pop!_OS Bootloader
If GRUB causes boot problems, you may be able to return to systemd-boot using the existing firmware entry.
First, use the firmware boot menu to select Pop!_OS or its existing systemd-boot entry.
If Pop!_OS starts successfully, verify the EFI System Partition and review the official System76 bootloader-repair instructions before reinstalling or changing any bootloader files.
System76 provides recovery instructions for systemd-boot and GRUB installations. The appropriate procedure depends on the installation mode, disk layout, and whether the system uses encryption.
If Pop!_OS cannot start, boot from a Pop!_OS live USB and follow the official recovery procedure. Do not delete GRUB or systemd-boot files manually unless you have verified which files are safe to remove.
Frequently Asked Questions (FAQs)
1. Does Pop!_OS use GRUB by default?
Pop!_OS uses systemd-boot by default on UEFI installations. GRUB is commonly used when Pop!_OS is installed in Legacy BIOS mode.
2. Can I install GRUB on Pop!_OS?
Yes. GRUB can be installed on Pop!_OS, but the correct installation method depends on whether your system uses UEFI or Legacy BIOS.
3. Is GRUB necessary for dual booting Pop!_OS and Windows?
No. Pop!_OS can use systemd-boot or the firmware boot menu to select Windows. GRUB is an alternative rather than a requirement.
4. How do I install GRUB on Pop!_OS using UEFI?
On a compatible 64-bit UEFI installation, you can install the GRUB EFI packages, confirm the EFI System Partition is mounted, and use grub-install with the x86_64-efi target. The process should preserve the existing Pop!_OS bootloader.
5. Why is Windows not showing in the GRUB menu?
Windows may not be detected because os-prober is disabled, the Windows EFI partition is not accessible, or the boot configuration is incompatible with automatic detection.
6. Can I dual boot Windows 11 and Pop!_OS on one SSD?
Yes. Dual booting Windows 11 and Pop!_OS on one SSD is possible, but it requires careful partition planning and compatible UEFI installations. Back up your data before modifying partitions.
7. Should I install Windows or Pop!_OS first?
Installing Windows first and then Pop!_OS is often simpler because Windows installation can modify the boot order. However, both installation sequences are possible with careful partitioning and bootloader configuration.
8. Does installing GRUB delete systemd-boot?
Installing GRUB does not inherently require deleting systemd-boot. Keeping both bootloaders available can provide a fallback if one boot entry stops working.
9. How do I open the systemd-boot menu in Pop!_OS?
Hold or repeatedly press the Spacebar during startup to display the systemd-boot menu, provided systemd-boot is the boot manager being used.
10. What should I do if GRUB breaks Pop!_OS?
Use the firmware boot menu to select the existing Pop!_OS or systemd-boot entry. If that fails, boot from a Pop!_OS live USB and follow System76’s official bootloader-repair guide.
Final Thoughts
Installing GRUB on Pop!_OS can provide a familiar and customizable boot menu for users who want to manage multiple operating systems. However, the process requires an understanding of UEFI, Legacy BIOS, EFI System Partitions, and how Pop!_OS manages its boot entries.
For a standard Windows and Pop!_OS dual-boot setup, systemd-boot is often sufficient and avoids the need to introduce another boot manager. If you specifically require GRUB, install it according to your firmware mode, preserve the existing Pop!_OS boot files, and verify that both operating systems can start independently.
The most important rule is to identify your current boot mode and EFI partition before running bootloader commands. A careful setup and a working recovery option can help prevent unnecessary reinstallations and data loss.
References
- System76 – Repair the Bootloader: https://support.system76.com/articles/bootloader/
- System76 – Windows and Pop!_OS Dual Boot: https://support.system76.com/articles/windows/
- System76 – Installing Pop!_OS: https://support.system76.com/articles/install-pop/
- GNU GRUB Manual: https://www.gnu.org/software/grub/manual/grub/grub.html
- Ubuntu Community – GRUB 2 Setup: https://help.ubuntu.com/community/Grub2/Setup
Authoritative References
For publication, prioritize these sources for technical verification:
- System76 Bootloader Repair Guide
- System76 Windows Dual-Boot Guide
- System76 Pop!_OS Installation Guide
- GNU GRUB Official Manual
Editorial note: The guide deliberately distinguishes installing GRUB from the simpler systemd-boot dual-boot method. This distinction is essential for technical accuracy and reader safety.