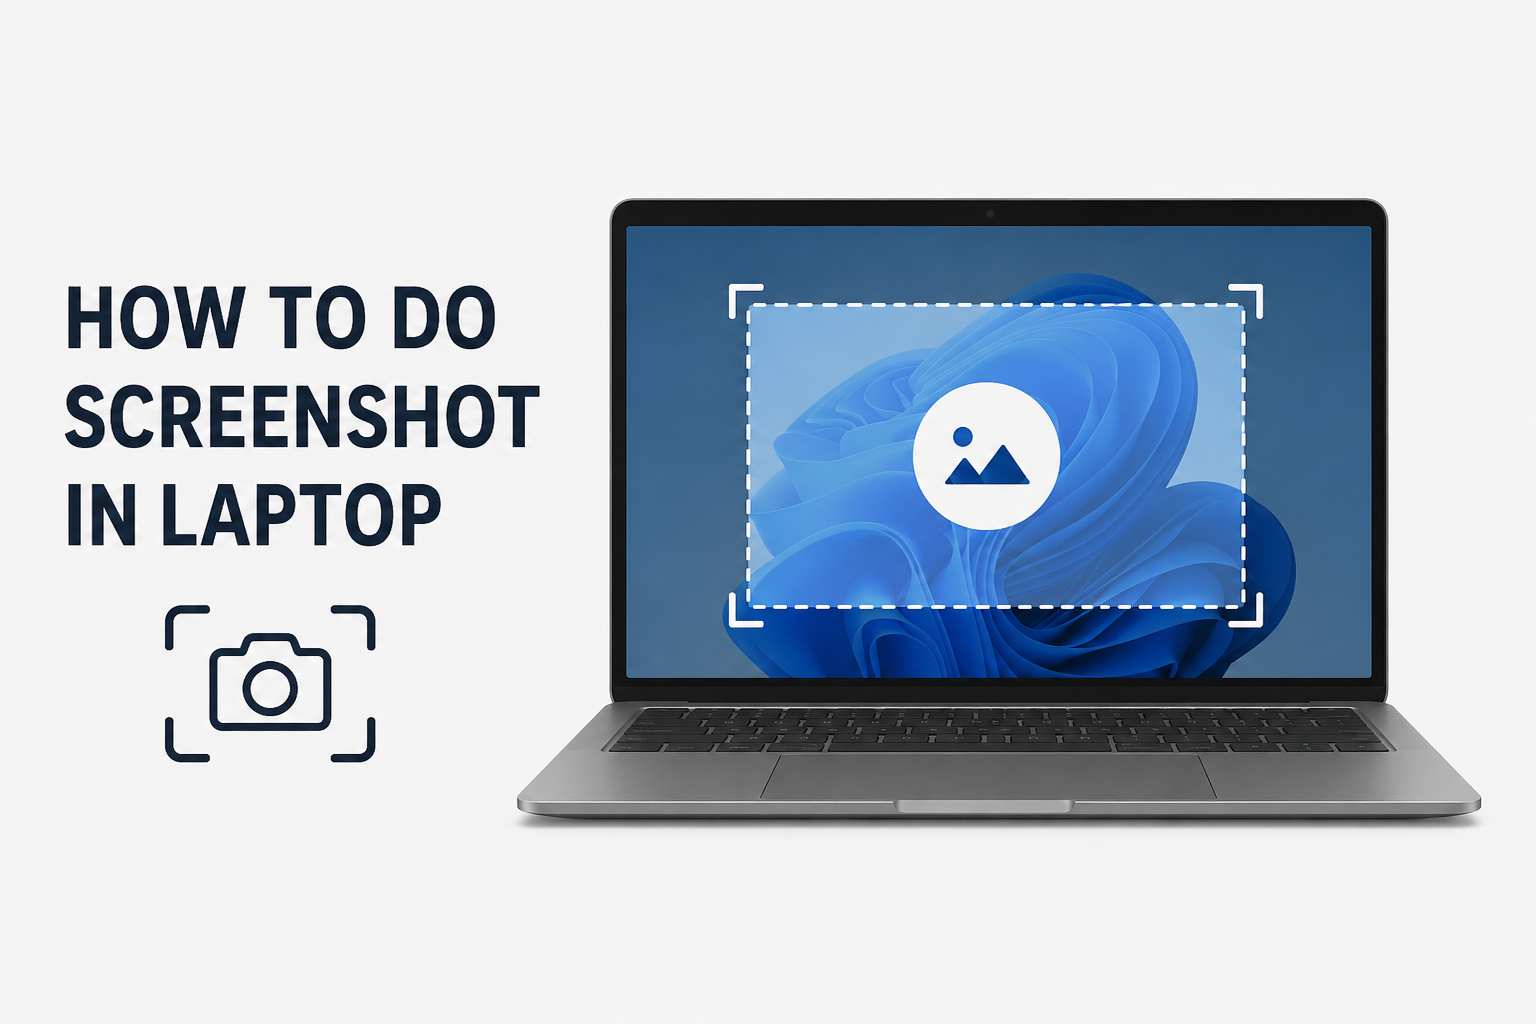
How to do screenshot in Laptop? It’s easy just find the keys. Taking a screenshot on a laptop is one of the quickest ways to capture and save information displayed on your screen. You can use a screenshot to document an error, save an online receipt, share a conversation, explain a software problem, create a tutorial, or preserve information that may not be available later.
The good news is that you usually do not need to install any third-party software. Modern laptops include built-in screenshot tools that let you capture the entire screen, a particular window, or just a selected portion. The method you should use depends on your operating system. Windows laptops use different shortcuts from MacBooks, while Chromebooks have their own screen-capture controls.

For a quick reference:
- Laptop Full-Screen Screenshot Selected Area Main Screenshot Tool
- Windows Windows + PrtScn Windows + Shift + S Snipping Tool
- MacBook Shift + Command + 3 Shift + Command + 4 Screenshot
- Chromebook Ctrl + Show Windows Shift + Ctrl + Show Windows Screen Capture
This guide explains how to screenshot on virtually any modern laptop, including keyboard shortcuts, partial screenshots, individual windows, saved locations, editing, troubleshooting, and practical tips for taking better screen captures.
How to Screenshot on a Windows Laptop
Windows provides several screenshot methods, so you can choose between capturing the entire display, a specific area, or an individual application window. For most people, the most useful shortcut to learn first is Windows + Shift + S.
How to take a selected-area screenshot on Windows
Press: Windows + Shift + S
Your screen will become slightly dimmed and the screen-snipping controls will appear.
Step-by-step instructions
- Open the page, application, document, or image you want to capture.
- Press Windows + Shift + S.
- Choose the type of snip available in the capture toolbar.
- Click and drag around the area you want to capture.
- Release the mouse or trackpad.
- The screenshot will be copied and made available through the Windows screenshot interface.
- Save or edit the captured image as needed.
This method is particularly useful when you only need a small portion of the display. For example, instead of sending someone a screenshot of your entire desktop, you can capture only the error message they need to see.
How to take a full-screen screenshot on Windows
To capture the entire screen and save it automatically
- Press: Windows + PrtScn
The key may be labeled PrtSc, PrtScn, Print Screen, or another variation depending on your laptop. - Windows typically saves screenshots taken with this shortcut in: Pictures > Screenshots
- This is the most convenient option when you want a complete image of everything currently displayed.
How to use the Print Screen key
- The traditional PrtScn key can also be used to capture your screen.
- On many Windows systems, pressing PrtScn copies the screenshot to the clipboard rather than automatically creating a file.
- You can then open an application such as Paint and press: Ctrl + V
- The screenshot will be pasted into the application, where you can edit and save it.
- This method is useful when you want to quickly transfer a screenshot into an email, document, presentation, or messaging application.
How to screenshot one window on Windows
If you want to capture only the application you are currently using, press: Alt + PrtScn
To capture an active window Here are the steps
- Open the application or window.
- Click it so that it becomes the active window.
- Press Alt + PrtScn.
- Windows copies the screenshot to the clipboard.
- Open Paint, Word, an email, or another compatible application.
- Press Ctrl + V to paste the image.
- This avoids capturing unrelated applications, browser tabs, or your desktop.
How to Use Snipping Tool on Windows
The Snipping Tool is Windows’ built-in graphical screenshot utility. It is particularly useful if you prefer clicking and selecting what you want instead of memorizing keyboard shortcuts.
How to open Snipping Tool
- Open the Windows Start menu and search for:
- Snipping Tool
- Open the application and select the appropriate screen-capture option.
Depending on your Windows version, the tool can provide different capture modes and editing capabilities.
When should you use Snipping Tool?
Snipping Tool is useful when you need to:
- Capture a particular section of the screen
- Capture an application window
- Take delayed screenshots
- Annotate a screenshot
- Copy an image
- Save a screenshot as a file
For everyday Windows use, Windows + Shift + S is usually the fastest way to access screen capture, while the full Snipping Tool interface is better when you need additional controls.
What If Your Windows Laptop Has No Print Screen Key?
Not every laptop keyboard has a dedicated Print Screen button. Depending on the manufacturer and keyboard design, the function may be combined with another key or accessed through the Fn key.
Look for labels such as:
- PrtSc
- PrtScn
- Print Screen
- Screen Capture
If you cannot find one, you can simply use:
- Windows + Shift + S
- You can also try the relevant key combination with Fn if your laptop assigns Print Screen as a secondary keyboard function.
How to Screenshot on a MacBook
MacBooks use macOS, which has a separate set of screenshot shortcuts built directly into the operating system. Apple provides shortcuts for capturing the entire display, a selected area, or a particular window.
How to capture the entire MacBook screen
- Press: Shift + Command + 3
- macOS captures the entire display and saves the screenshot according to your current screenshot settings.
When should you use a full-screen Mac screenshot?
A full-screen capture is useful when you need to show the complete context of something. For example, it can be useful for:
- Documenting a software issue
- Saving a complete webpage view
- Capturing a presentation
- Showing multiple applications at once
- Recording the state of your desktop
How to capture part of a MacBook screen
Press: Shift + Command + 4 and Your pointer changes into a selection tool.
Step-by-step instructions
- Press Shift + Command + 4.
- Click and hold the mouse or trackpad.
- Drag across the area you want to capture.
- Adjust the selection if necessary.
- Release the mouse or trackpad.
- macOS captures the selected area.
This is one of the most practical Mac screenshot shortcuts because it lets you exclude everything that is irrelevant to the screenshot.
How to screenshot a specific window on a MacBook
macOS also allows you to capture a particular application window.
- Press: Shift + Command + 4
- Then press: Space
- The pointer changes into a camera icon.
- Move the camera over the window you want and click.
This captures the selected window without requiring you to manually trace its edges.
How to Use the Mac Screenshot Utility
If you want more control than a simple keyboard shortcut provides, press: Shift + Command + 5. This opens the built-in Screenshot utility.
What can the Mac Screenshot utility do?
Depending on your macOS version and configuration, the utility provides options for:
- Capturing the entire screen
- Capturing a selected window
- Capturing a selected portion
- Recording the entire screen
- Recording a selected portion
- Setting a timer
- Choosing where screenshots are saved
- Controlling other capture options
This makes Shift + Command + 5 particularly useful for people who regularly create tutorials, demonstrations, documentation, or screen recordings.
Where Are MacBook Screenshots Saved?
Mac screenshots are generally saved to the Desktop by default. If you take screenshots frequently, this can quickly leave your desktop cluttered with image files. You can use the Screenshot utility to select another storage location. Creating a dedicated Screenshots folder is a simple way to keep your files organized.
How to Copy a Mac Screenshot to the Clipboard
You do not always need to save a screenshot as a file. macOS can also copy a screenshot directly to the clipboard.
- Hold Control while using the appropriate screenshot shortcut.
- You can then paste the image into another application.
This is especially convenient when you’re responding to a message, writing documentation, or inserting a screenshot into a document and do not need to keep a separate image file.
How to Screenshot on a Chromebook
Chromebooks use ChromeOS, so their screenshot controls are different from Windows and macOS. ChromeOS includes a built-in Screen Capture tool that can capture the entire screen, a selected region, or an individual window.
How to take a full-screen screenshot on Chromebook
- Press: Ctrl + Show Windows
- The Show Windows key generally has an icon resembling a rectangle with lines beside it.
- ChromeOS captures the screen and saves the image.
How to take a partial screenshot on Chromebook
Press: Shift + Ctrl + Show Windows. You can then select the part of the screen you want to capture.
Step-by-step instructions
- Press Shift + Ctrl + Show Windows.
- Select the appropriate screenshot mode.
- Click and drag around the area you want.
- Release the selection.
- ChromeOS captures the selected area.
This is useful when you need to capture only part of a website, application, image, or document.
How to use Screen Capture on Chromebook
You can also access the graphical Screen Capture tool.
Steps
- Click the clock in the bottom-right corner.
- Open Quick Settings.
- Select Screen Capture.
- Choose the screenshot option.
- Select full-screen, partial-screen, or window capture.
- Capture the area you need.
The same interface can also provide screen-recording options.
Where Are Chromebook Screenshots Saved?
Chromebook screenshots are generally stored in the Downloads folder.
To find a screenshot:
- Open the Files application.
- Select Downloads.
- Locate the screenshot.
ChromeOS also provides options for changing where screenshots and recordings are saved.
How to Screenshot a Specific Area on Any Laptop
Capturing only the relevant portion of the screen is often better than taking a full-screen screenshot.
It produces a cleaner image and reduces the amount of unnecessary information you share.
For Windows
Use: Windows + Shift + S
For MacBook
Use: Shift + Command + 4
Chromebook
Use: Shift + Ctrl + Show Windows
A selected-area screenshot is particularly useful for capturing:
- Error messages
- Website sections
- Charts
- Images
- Software settings
- Buttons
- Specific paragraphs
- Portions of documents
How to Screenshot a Long Webpage
A standard screenshot captures what is visible on your screen. It does not necessarily capture an entire webpage that extends below the visible area. For example, if an article is several screens long, a normal screenshot captures only the section currently visible.
A scrolling or full-page screenshot is useful for:
- Long articles
- Online receipts
- Web pages
- Documentation
- Search results
- Long conversations
The exact process depends on your browser and operating system. Some browsers and screenshot tools provide dedicated full-page capture functionality.
How to Screenshot Without a Keyboard
A keyboard is convenient, but it is not always necessary.
- Windows – Open Snipping Tool through the Start menu.
- MacBook – Open the built-in Screenshot utility.
- Chromebook – Open Screen Capture from ChromeOS Quick Settings.
These graphical tools are particularly useful if a keyboard shortcut is unavailable or your keyboard is temporarily malfunctioning.
How to Edit a Screenshot
Taking the screenshot is only part of the process. In many situations, editing the image makes it substantially more useful.
Common edits include:
- Cropping unnecessary areas
- Adding arrows
- Highlighting important information
- Drawing boxes
- Adding text
- Resizing the image
- Removing irrelevant content
- Hiding sensitive information
Why screenshot editing matters
Suppose you send technical support a screenshot containing a small error message surrounded by an entire desktop. The support team has to search for the important information. A cropped screenshot with the error clearly highlighted communicates the problem much more effectively.
How to Protect Private Information in Screenshots
Before sharing a screenshot, examine the entire image carefully. A screenshot may unintentionally expose information such as:
- Email addresses
- Phone numbers
- Account information
- Personal documents
- Private conversations
- Notifications
- Addresses
- Confidential work information
Never assume that information outside the main subject of the screenshot is irrelevant. If you’re sharing a screenshot publicly, crop or properly obscure sensitive information before uploading it.
Why Is My Laptop Screenshot Not Working?
Screenshot shortcuts can occasionally fail because of keyboard settings, hardware configurations, or operating-system issues.
Check whether you’re using the correct shortcut
The shortcut depends on the operating system. Windows uses different commands from macOS, and ChromeOS uses a different keyboard layout again.
Try the Fn key
If your laptop has a Print Screen function assigned to another key, try using Fn with that key. This is particularly common on compact laptop keyboards.
Use the graphical screenshot tool
If a keyboard shortcut fails, use the built-in application instead.
- On Windows, open Snipping Tool.
- On MacBook, open Screenshot.
- On Chromebook, open Screen Capture.
If the graphical tool works but the keyboard shortcut doesn’t, the problem may be related to the keyboard or its configuration.
Restart the laptop
A temporary software or keyboard issue can sometimes interfere with shortcuts. Restarting your computer is a simple troubleshooting step before investigating more complicated causes.
Screenshot Shortcuts Cheat Sheet
If you want to remember only the most useful commands, save this table.
| Task | Windows | MacBook | Chromebook |
|---|---|---|---|
| Full screen | Windows + PrtScn | Shift + Command + 3 | Ctrl + Show Windows |
| Selected area | Windows + Shift + S | Shift + Command + 4 | Shift + Ctrl + Show Windows |
| Active window | Alt + PrtScn | Shift + Command + 4, then Space | Screen Capture |
| Screenshot controls | Snipping Tool | Shift + Command + 5 | Screen Capture |
These shortcuts cover the majority of everyday screenshot tasks.
Best Practices for Taking Useful Screenshots
A good screenshot should communicate information quickly and clearly.
- Capture only what matters
- If someone only needs to see a specific error, don’t send an image of your entire desktop.
- Use a selected-area capture whenever possible.
- Keep important details readable
- Do not crop so aggressively that labels, buttons, or error messages become impossible to understand.
- Provide context when necessary
- A screenshot that contains too little information can be just as unhelpful as one that contains too much.
- For technical support, include enough of the surrounding interface to show where the problem occurred.
- Use annotations carefully
- Arrows and highlights can direct attention to important details.
- However, avoid covering the information you’re trying to explain.
- Organize screenshots
- If you regularly take screenshots, create a dedicated folder rather than allowing hundreds of images to accumulate on your desktop or Downloads folder.
- Descriptive filenames can also make older screenshots much easier to find.
Frequently Asked Questions
What is the easiest way to screenshot on a laptop?
- For Windows, Windows + Shift + S is one of the quickest methods for capturing a selected area.
- On a MacBook, Shift + Command + 4 captures a selected area.
- On a Chromebook, Ctrl + Show Windows captures the entire screen.
How do I screenshot on a laptop without a Print Screen key?
You don’t need a Print Screen key to capture your screen. Windows users can use Windows + Shift + S or Snipping Tool. MacBook users can use the built-in Command-based shortcuts, while Chromebook users can use Show Windows or Screen Capture.
Where are screenshots stored on a laptop?
The location depends on your operating system.
- Windows screenshots taken with Windows + PrtScn are generally stored in Pictures > Screenshots.
- MacBook screenshots are generally saved to the Desktop by default.
- Chromebook screenshots are generally stored in Downloads.
Can I screenshot only part of my laptop screen?
Yes. All three major laptop operating systems provide built-in methods for selecting a specific portion of the display. This is often the preferred method when you want to share a particular piece of information.
Can I screenshot a single window?
Yes.
- Windows can capture an active window using Alt + PrtScn.
- On MacBook, press Shift + Command + 4, followed by Space, to capture a particular window.
- Chromebook provides window capture through its Screen Capture interface.
Can I take a screenshot without saving it?
Yes. A screenshot can often be copied to the clipboard instead of being saved as a permanent image file.
- On Windows, clipboard-based screenshots can be pasted with Ctrl + V.
- On MacBook, hold Control while using a screenshot shortcut to copy the capture to the clipboard.
Can I take a screenshot on a laptop without using the keyboard?
Yes. Windows, macOS, and ChromeOS all provide graphical screenshot tools. You can use Snipping Tool on Windows, Screenshot on MacBook, and Screen Capture on Chromebook.
Can I screenshot an entire webpage?
A standard screenshot captures the visible portion of the webpage. If you need the entire page, including content below the visible screen, you’ll need a scrolling or full-page screenshot feature supported by your browser or another capture tool.
Final Thoughts
Knowing how to screenshot on a laptop can save time in everyday computing, whether you’re working, studying, troubleshooting software, or simply saving something useful from your screen.
- Windows users can rely on Windows + Shift + S for selected captures and Windows + PrtScn for full-screen screenshots.
- MacBook users can use Shift + Command + 3 for the entire screen, Shift + Command + 4 for a selected area, and Shift + Command + 5 for more advanced screenshot and recording controls.
- Chromebook users can use Ctrl + Show Windows for a full-screen capture and Shift + Ctrl + Show Windows for a selected area.
The most important thing is not to memorize every shortcut. Start with the method that matches your operating system and the type of screenshot you need. Once you’ve used it a few times, taking and sharing screenshots becomes almost automatic even with your smartphone.